3 Mar 2010

Photoshop Transform tools - presentation


In this tutorial you will explore all the Transform tools in Photoshop. These are Scale, Rotate, Skew, Distort, Perspective and Warp. The other functions like Rotate or Flip have nothing special. The name says it all.
First, you get a photo. Then you press CTRL+T to enter in Transform function. Now, just right click on the picture to select the tool you want:

 Scale – Nothing special here, this is for adjusting the size of the picture:
 
 
 Rotate – Like the name, lets you rotate the photo.
Skew – This tool lets you to move one side of the photo independently. Here is an example: 

Distort – With this tool you can move independently any corner of the picture you want. This comes handy when you don’t have a good straight photo.
 
Perspective – Another good tool that lets you scale any side of the photo.
 
Warp – This is the most interesting tool. It lets you move 16 points that are connected. With this you can do fine adjustments or even remove the roundness of the photo made by some cameras. 

With this tools you can modify about everything, so next time you want to make some textures for Trainz you should know how to handle them.


How to handle textures for Trainz


The following tutorial will show you how to handle simple textures for later use in 3dsmax. If you are new to Photoshop, you should check out this first:


Photoshop Transform tools - presentation
First of all when you intend to make an object for Trainz, you should have photos taken from each side of it. In case you don’t have you can make them in Photoshop but the result will not be so realistic. So, here a have some kind of box that you can find almost everywhere in Romania along the trackside. I’ve made some photos (front, back and side) and now they need handling. Here are the photos:

After I loaded all the photos, I’ve made a new file File>New in which I will put all the photos. The new file is 512x512 pixels. The photos must be cut, getting rid of the parts we don’t need. After that, just apply a black background.
 
The only thing left to do is to save the image. You should save it TGA on 24bit.
 
This is the simplest mode in handling textures for Trainz. The key is to use as less texture file as you can, this improves gameplay, and object loading. 


How to make a terminal station


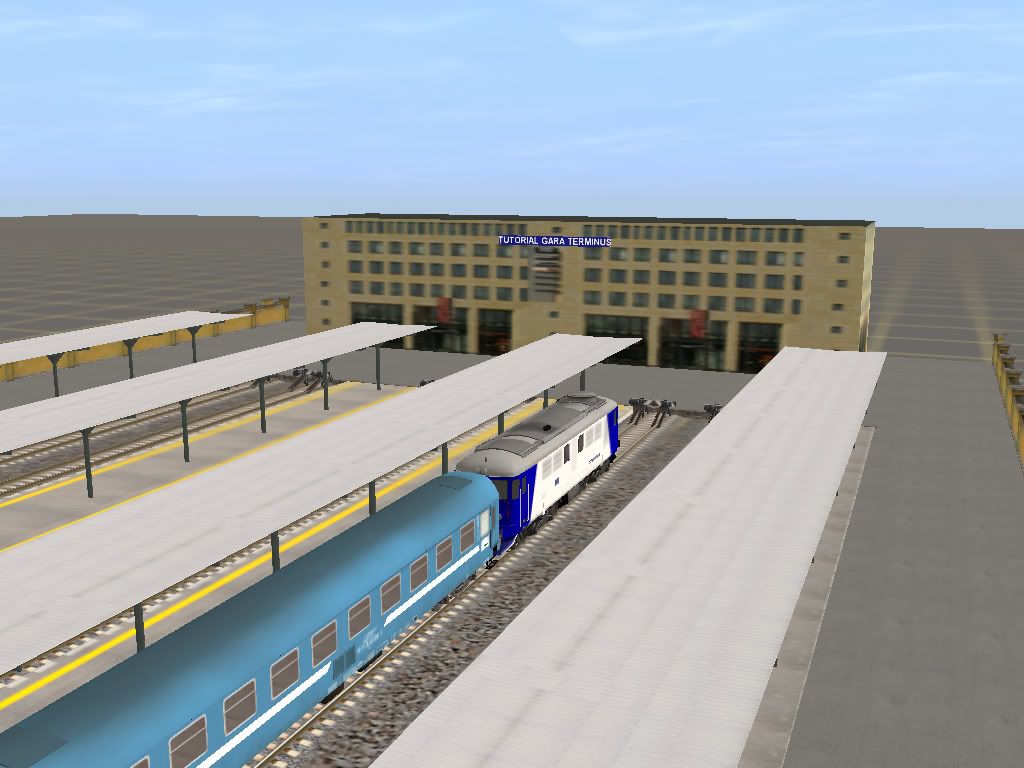
This is a simple to follow tutorial for making a terminal station in Trainz. After all this is not a very complex operation, it mainly depends on how you want it to look.


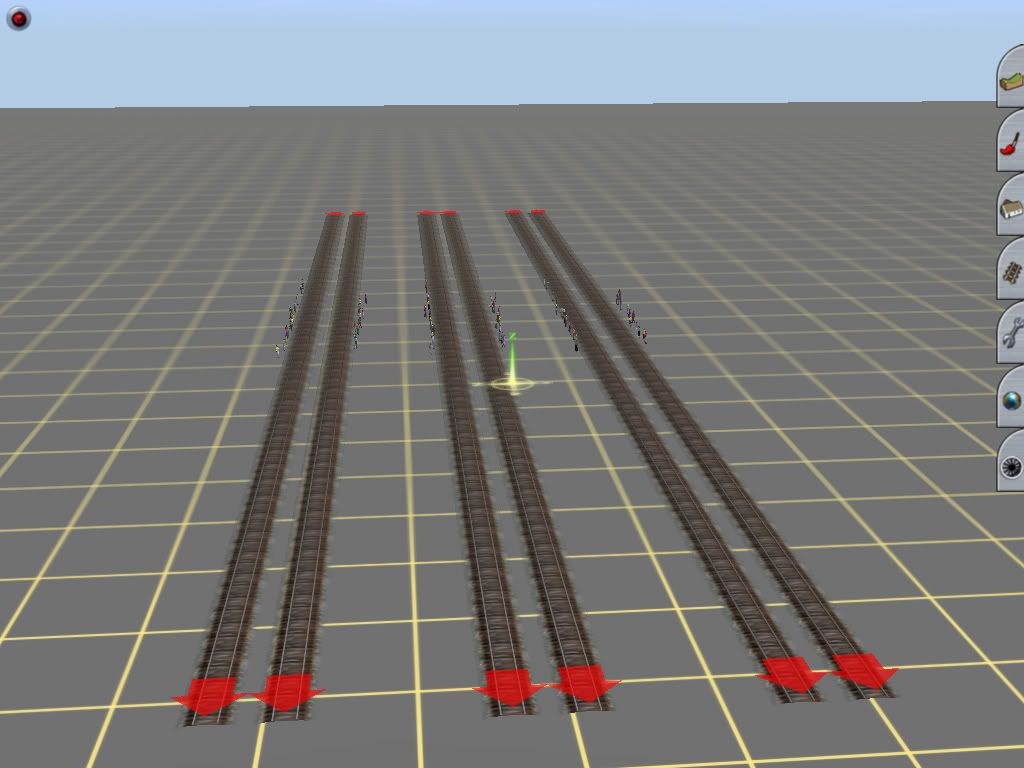
First you will need to place a SP2 station with 3 double tracks. SP2 is for having passengers on your platform. 
 
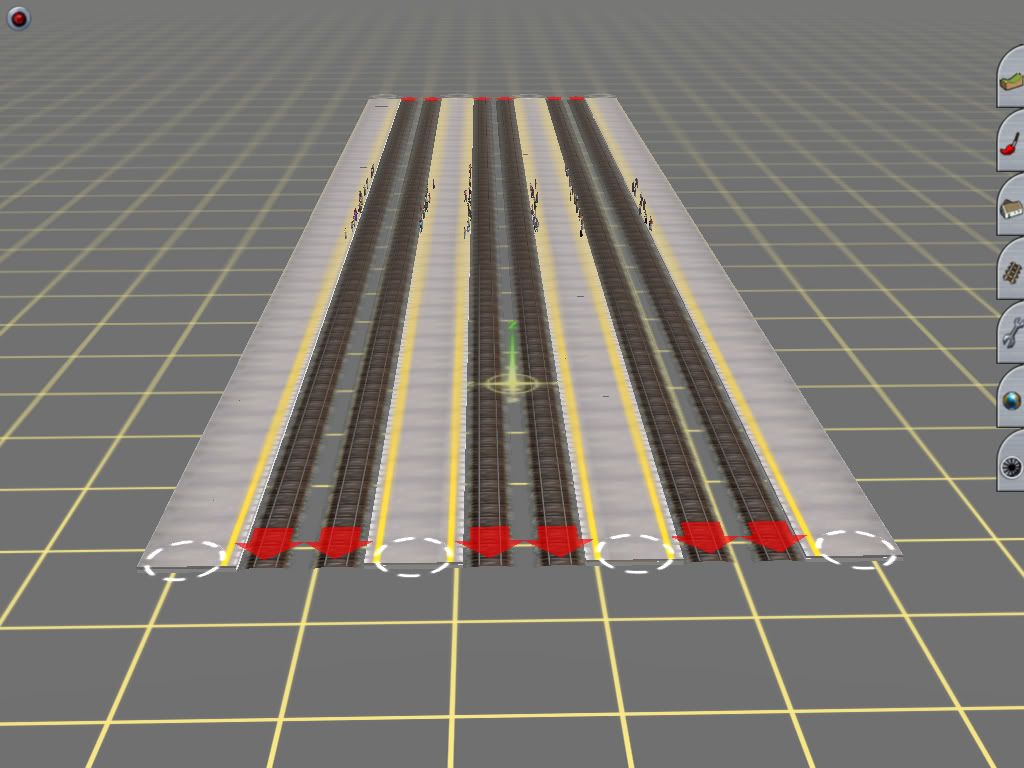
Next you will have to place the platforms.
 
 
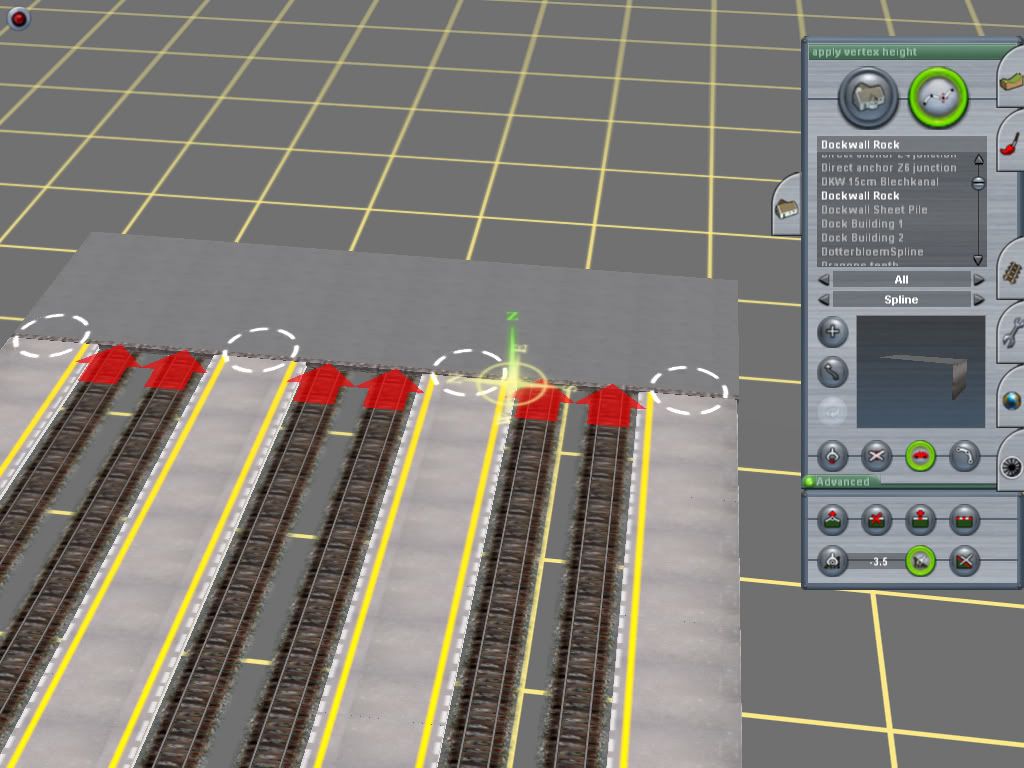
Next you will need another platform to cover up the ends of the platforms in one side. 
 

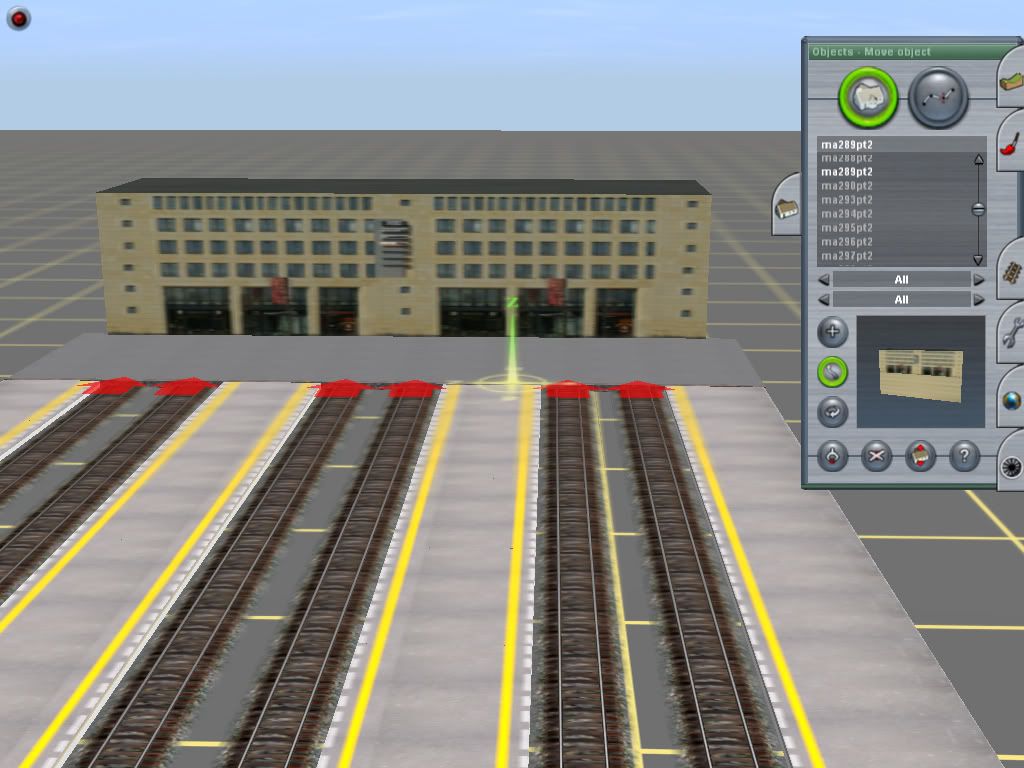
You will need a suitable building to cover the front space. You should pick up something that looks like a station. This is your choice.
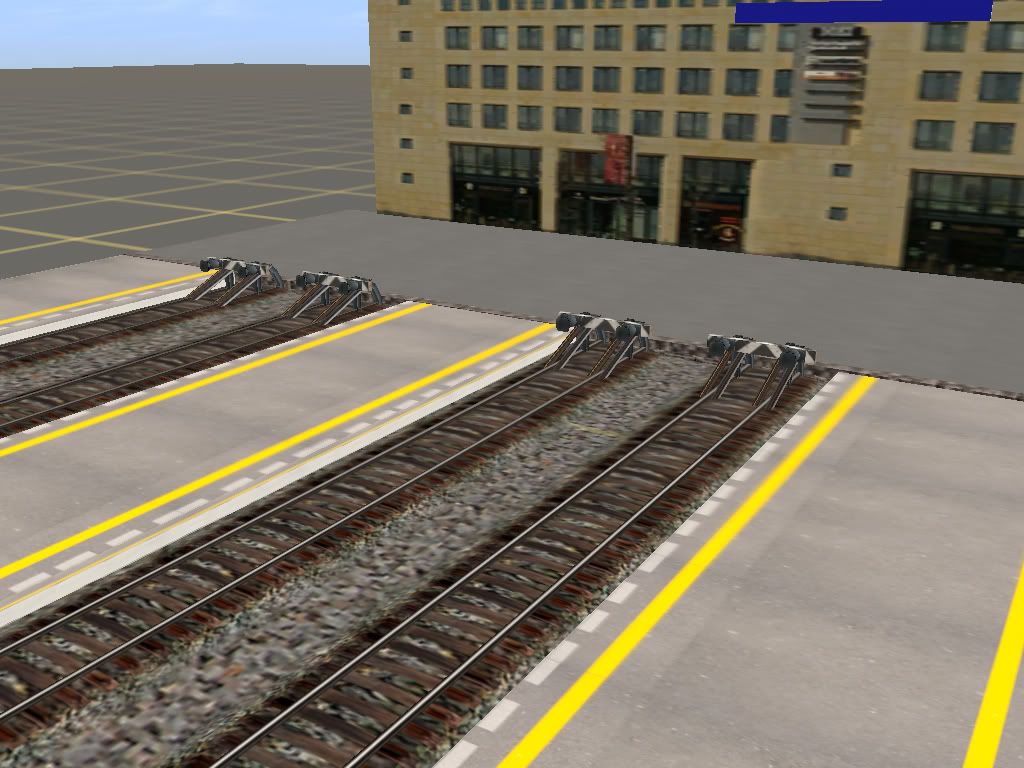
Because it is a terminal station, you must place some rail-ends:

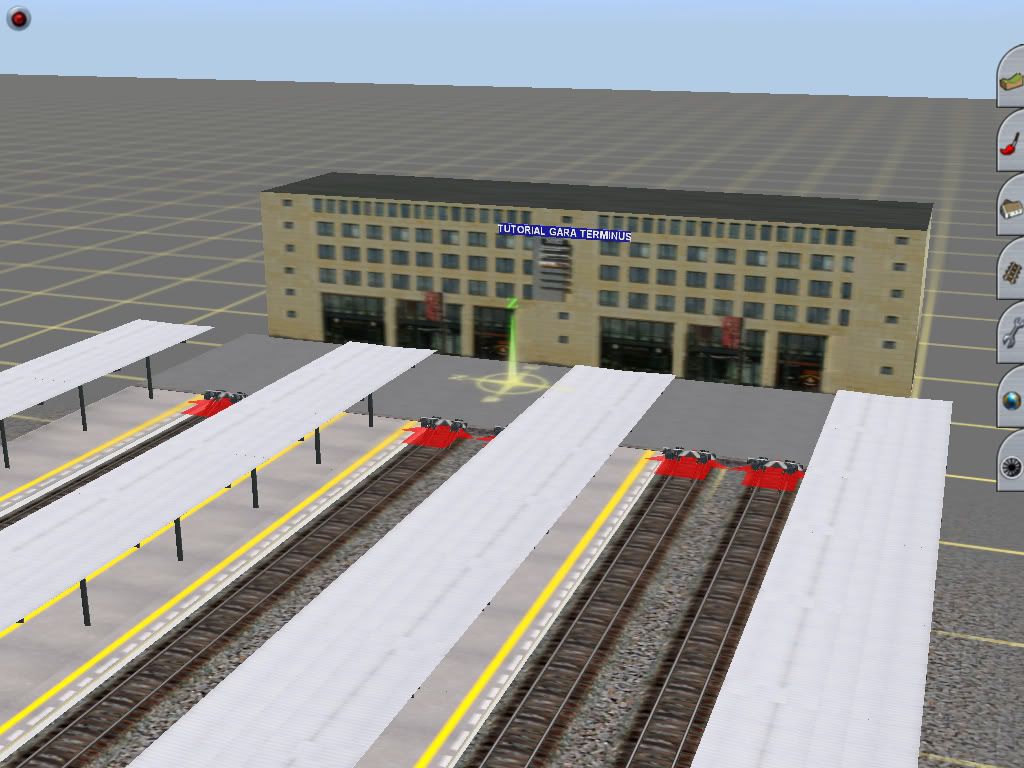
Next you will have to cover up the platforms. This is again your choice. I’ve used a Romanian rooftop.
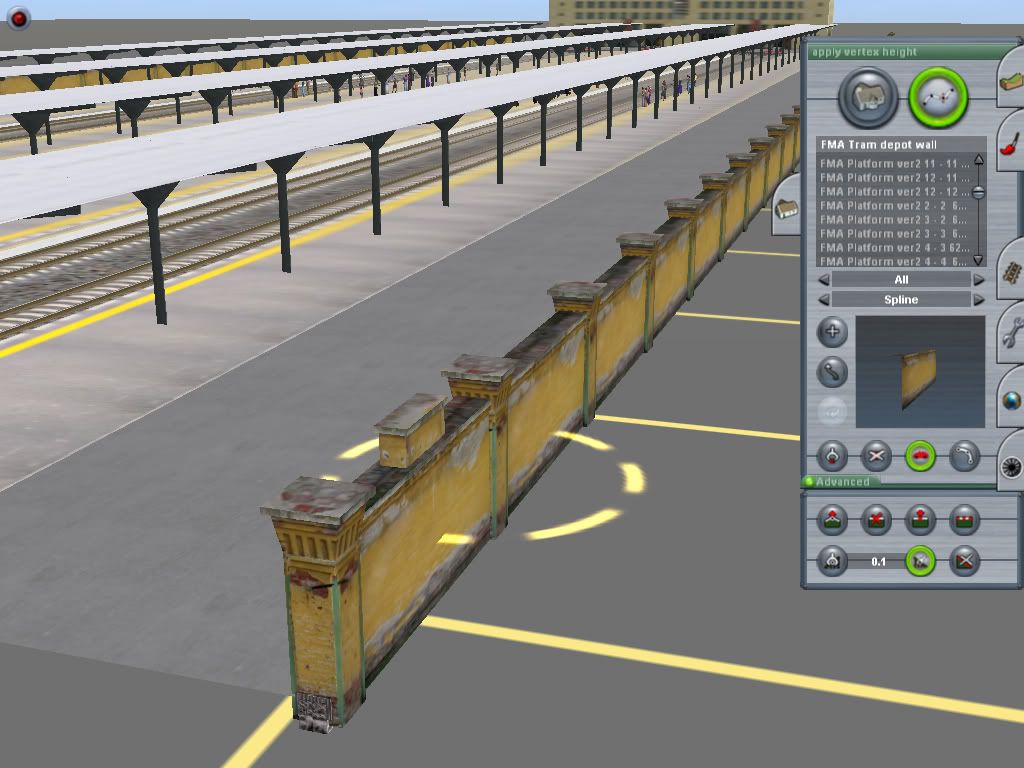
  Finally you should put some walls around the station:
 

This is a basic terminal station. You may continue adding details so you could have the desired effect.


New quality route available


A new quality route has been released by our eastern neighbours from Russia. Fantasy Route 1.0 is now available on trainzup.com site.


The route can be downloaded from here. It includes all the dependencies and also the rolling stock used in the session. We haven't tested the route yet but we strongly belive that this is a very good one as all the content coming from "mother Russia".

2 Mar 2010

How to create a yard in six easy steps

The following tutorial will show you how to easily create a yard. Follow the instructions below and watch the movie for a better understanding of each step.


1. Lay down the tracks that will form the yard
2. Lay the yard entrance track in diagonal.
3. Straighten all tracks using the "straight line" function from the "Tracks" side menu
4. Connect the yard tracks with the diagonal track as shown in the video.
5. Straighten again all the newly formed track segments.
6. Delete all the extra track segments.

Congratulations, you have built a yard


Setting up 3dsmax units


In this tutorial you will learn how to set up your 3dsmax (any version) units. You need this because you don’t want to make an object and then discover in Trainz, that it is huge or very small, nowhere near the real scale. So follow this tutorial to find out how you can set the units in 3dsmax.
First, go to Customize and select Units Setup. 

When the dialog box is open, mark the unit system of your choice. This depends in what you now best. I use metric units. Then press System Unit Setup and select the unit you would like 3dsmax to work in. 1 unit in 3dsmax is…. For me is meter. You can chose whatever you like but you should know how to work with them.

You will need to this setup every time you install 3dsmax. This is a key setup in order to make content for trainz in 3dsmax.